In today’s fast-changing content creation world, discovering effective tools to boost your video production is essential. One of the effective tools is CapCutDesktop Video Editor, an easy-to-use video editing application that provides a range of features to assist creators in creating professional-level content. Among its numerous functions, the Text to Speech AI feature is notable, which allows users to add voiceovers to their videos with ease without the use of costly equipment or voice actors.
In this article, we’ll walk you through how to utilize CapCut’s AI voiceover, step by step, to take your video content to the next level. From script preparation to adjusting the tone of the voiceover, we’ll show you how to create a professional-grade narration with free video editing software CapCut’s sophisticated AI technology.
What is CapCut’s Text to Speech AI?
CapCut Desktop Video Editor’s Text to Speech AI is a tool that enables users to turn written words into natural-sounding voiceovers. This feature uses machine learning models to produce realistic voice tones, which is perfect for creators who need to narrate their videos without recording their own voice. With so many languages and voices to choose from, CapCut Desktop Video Editor offers a versatile solution for creators who wish to include voiceovers in an efficient and convenient way.
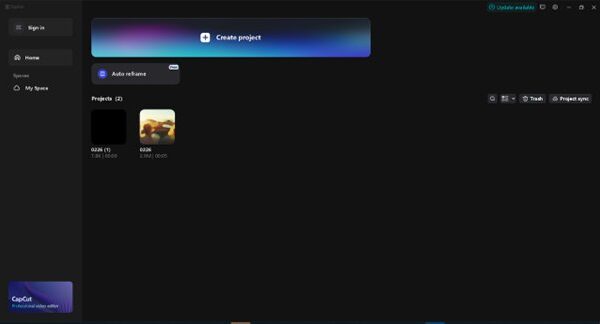
Step 1: Install and Set Up CapCut
The first step in adding AI-generated voiceovers to your video is to download and install CapCut Desktop Video Editor.
Once you have installed CapCut Desktop Video Editor, launch the app and set up a new project. This can be done by clicking on the \”+\” icon, which enables you to upload your video footage and start editing. If you already have a voiceover-ready video, just upload it into the timeline.
Step 2: Write Your Script
Before you can proceed with adding any AI voiceover, it’s best to prepare a script first. The AI Text to Speech feature in CapCut Desktop Video Editor functions by turning the input text into voice. Your script should then be concise, clean, and properly timed to your video’s imagery.
Step 3: Add Text to Speech in CapCut Desktop Video Editor
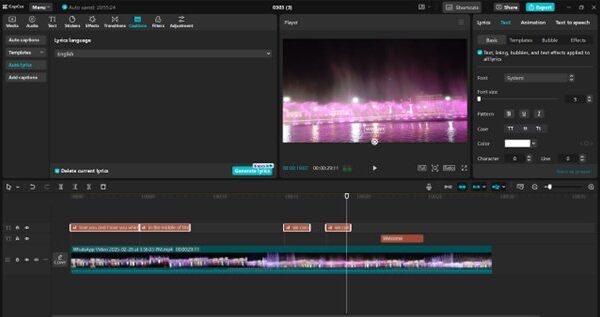
Go to the Text Tool: Go to the bottom of the CapCut editor’s screen and touch the Text choice. Here’s where you may include text overlay, captions, and even subtitles. To obtain access to the Text to Speech AI function, you’ll be required to click the Text-to-Speech tab.
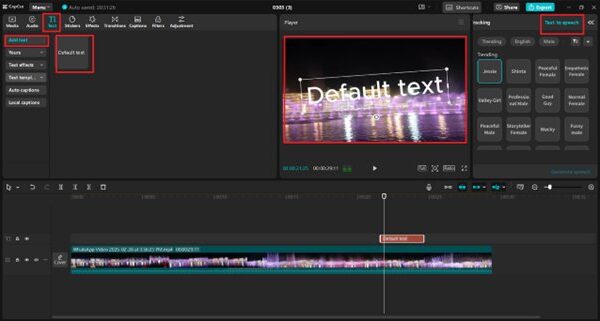
Input Your Script: Once you have chosen the Text to Speech option, a text field will be displayed where you can paste or input your ready script. Make sure that the text is entered carefully since any mistake made will be evident through the voiceover.
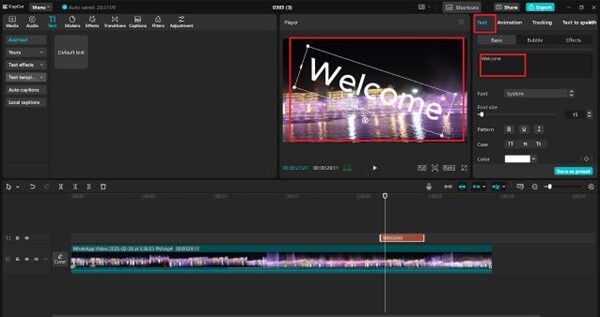
Select a Language and Voice: CapCut Desktop Video Editor provides an extensive list of languages and voice choices. Based on your audience and content language, select the most appropriate voice. CapCut has various voices that sound natural and professional. You can listen to the voices to confirm that you are satisfied with the selection before proceeding.

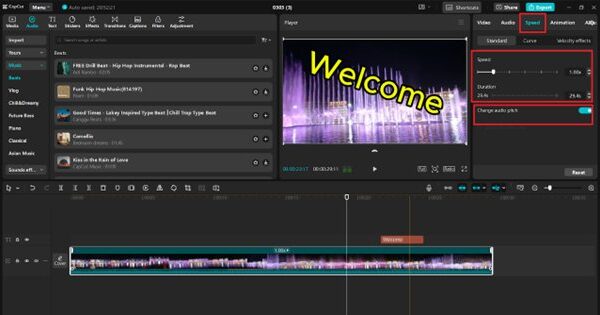
Adjust Speed and Pitch (Optional): Another wonderful thing about CapCut’s Text to Speech AI is that you can adjust the speed and pitch of the voice generated. If you wish the voiceover to be more energetic or slower and more deliberate, you can adjust these settings. Play around with the settings until you get a combination that suits your video best.
Generate the Voiceover: After setting everything up, click Generate or Create Voiceover. The app will synthesize the voiceover and process the text. Depending on the length of your script, this may take a few seconds to a minute.
Step 4: Fine-Tune the Voiceover
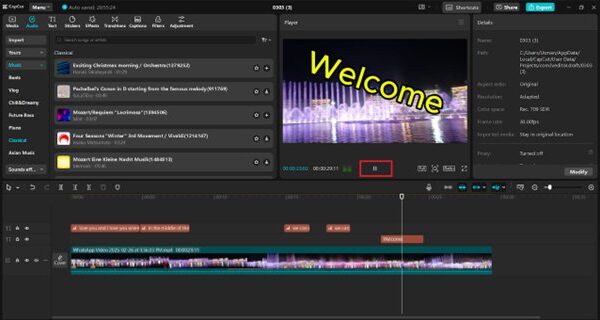
Once the voiceover is created, you can directly listen to it within CapCut’s editor. It is recommended that you play it back and ensure that it sounds natural and harmonizes with your video.
Adjust Timing: Make sure that the voiceover is synchronized with the visual parts of your video. If the voiceover sounds too fast or too slow, you can alter its timing on the timeline.
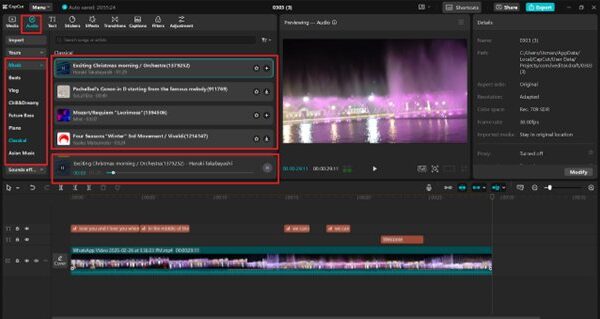
Add Background Music or Sound Effects: For an enhanced experience, you might want to add some background music or sound effects that go along with the voiceover. CapCut has a large collection of royalty-free sound effects and music that you can seamlessly add to your video.
Correct Mistakes: If there are any mistakes or places where the voiceover can be more understandable, you can edit the script and recreate the audio.
Step 5: Export Your Video
When you are satisfied with your video and voiceover, export time is finally here. CapCut provides different resolutions for your exported video, and you have the option of selecting the proper quality based on the platform that you are planning to upload the video to. For instance, if you’re making content for Instagram or YouTube, choose the resolution that supports the platform.
To export, just click on the Export icon in the upper right corner, select your settings, and export the video to your device.
Conclusion
CapCut’s Text to Speech AI is a revolution for content creators wanting to include voiceovers in their videos without recording or having to hire voice artists. With its user-friendly interface and robust AI technology, CapCut Desktop Video Editor, a free AI video generator, allows for the creation of high-quality voiceovers in simple steps. Through the process explained above, you can easily include AI-created narration in your videos and elevate your content creation to a new level.