
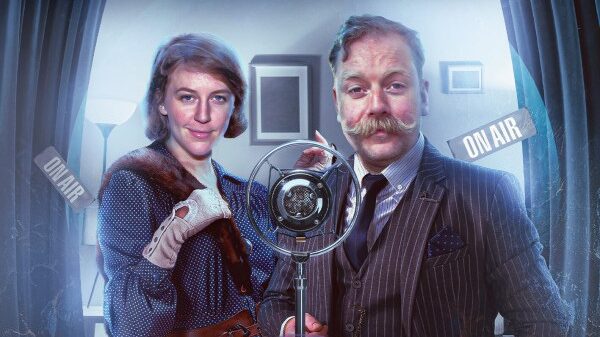
Dark Gallifrey, the Time Lords villains series, continues with a mismatched pair of Meddling Monks.
Dark Gallifrey enters its third year with it strangest offering yet. Following outings for Morbius, The War Master, Missy and the TV Movie Master!, the latest trilogy features two incarnations of the same Time Lord commonly known as the Meddling Monk.
Onscreen, we first met the devious character in ‘The Time Meddler’, where his machinations in 1066 were foiled by the First Doctor. That appearance was the first encounter with another of the Doctor’s people. Played by Carry On star Peter Butterworth, he popped up again in the later stages of ‘The Daleks’ Master Plan’.
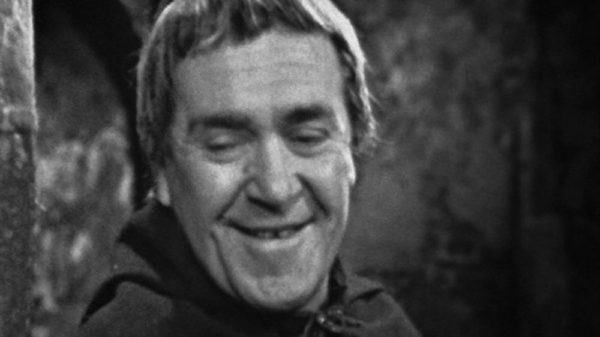
While he never returned outside the Hartnell era, in extended media, the Monk appeared in the New Adventures books and later returned on audio in 2010, played by Grahame Garden. Since 2015, comic Rufus Hound has made the character his own in numerous appearances, with Gemma Whelan latterly debuting a female incarnation of the character who styles herself as the Nun.
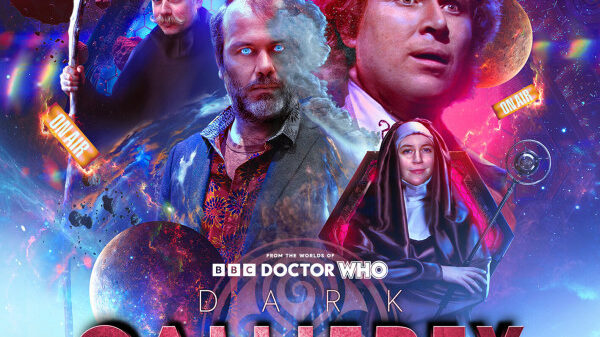
Dark Gallifrey: The Meddling Monks
While each of the Dark Gallifrey trilogies have been purposefully idiosyncratic, The Meddling Monks takes it to a new level. From the pen of Big Finish’s foremost format breaker John Dorney, the story arrives as a six-part radio sitcom titled “The Middling Monks” with a trio of Radio 4 stalwarts as its guest stars.
Monky House & Monky Business
Thanks to the good old Blinovitch Limitation Effect, two incarnations of the same Time Lord are stuck together and stranded on Earth. In ‘Monky House’, Rufus Hound’s “Monk” and his later, or is it earlier incarnation “The Nun” (Gemma Whelan) find themselves trying to buy a house, with hilarious consequences. After that goes awry, ‘Monky Business’ sees the pair competing, Apprentice style, to win a job at the corner shop – with hilarious consequences.
Monky Nuts & Monky Magic
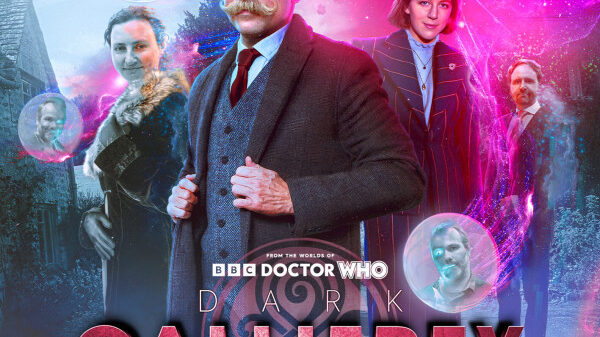
With the pair beginning to sense something is wrong, ‘Monky Nuts’ sees the pair invite the neighbours over and compete over who is doing the catering. This involves a ton of hilarious/horrendous wordplay, and some great gags at the expense of Busted’s ‘Year 3000’, amongst other pop hits.
Things get a shade more sinister with ‘Monky Magic’ when the pair enter a talent contest run by the local vicar and realise the penalty for not being funny is death.
Monky Puzzle & Monky About
Of course, for the final instalments, who else but Colin Baker’s larger than life Sixth Doctor to make an appearance? His love of wordplay is well established, and he fits the bizarre goings on perfectly, bringing a moral dimension that the time meddlers lack. It’s also interesting to not that this was another fully fledged appearance from the Doctor, not a Matrix echo, a copy or an unbound incarnation.
In Summary
The Meddling Monks is genuinely funny, albeit in a groanworthy sense at times, and the story achieves a growing sense of menace as the characters begin to realise the peril of their situation, noting the audience laughter that surrounds them. The whole affair lives in that particular knowing, fourth-wall breaking style of comedy and won’t appeal to some, but if you’re prepared to surrender to it, there’s a great ride on offer full of amusing meta references and absurdist jokes.
Leading the antics, Rufus Hound and Gemma Whelan are a well-matched comic pair, and the badinage between them is a joy. Recruiting Radio 4 comedy stalwarts John Finnemore, Simon Kane and Carrie Quinlan to star alongside them was a stroke of genius, and director/sound designer Jonathan S Powell gets the best out of these multi-talented, multi-voiced performers.
Dark Gallifrey
The whole affair wraps up with a nod to Dark Gallifrey (probably), without seemingly revealing anything of import. Although we’ve a hunch that the instigator of this Monky world owes its creation to that overall plotline.

The Worlds of Doctor Who – Dark Gallifrey: The Meddling Monks Parts One to Three are available as single-disc collector’s edition CDs (+ download), or as downloads only, from Big Finish.
Catch up on our reviews of the first four Dark Gallifrey trilogies, starring Morbius, The War Master, Missy and Master!
Dark Gallifrey: The Decayed Master
2026’s second Dark Gallifrey story features another incarnation of the Master. This time, it’s the version who clings to life with the sinister tones of Geoffrey Beevers. The story comes from Stewart Pringle and Lauren Mooney.
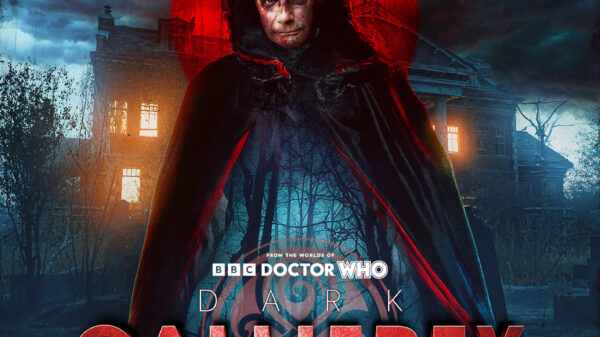
Christmas 1896 at the beautiful and secluded Longmoss House. Diana Blount has lived here all her life – but since her father died, Longmoss has lost its magic.
Now the money’s running out, and Mother says Diana must prepare to marry. This will be her last Christmas at Longmoss, running wild with visiting cousin Charlotte and evading the watchful eye of the one remaining servant, matriarchal housemaid Niamh.
Then one day, in the shut-up East Wing, Charlotte and Diana’s games and ghost stories begin to get out of hand. The veil is thin at Longmoss, and something is trying to get through – something with a Master to serve.
The Worlds of Doctor Who – Dark Gallifrey: The Decayed Master Parts One to Three are available to preorder as single-disc collector’s edition CDs (+ download), or as downloads only, from Big Finish.